02 Sep List Your Business on Apple Maps
It’s quick, easy and free!
The more control you can take over your business listings on the internet, the better. Apple wants their map listings to be as accurate as possible, as do you. Luckily, Apple offers a quick, easy and free way to make sure your business listing is on the map and accurate.
1. Go to https://mapsconnect.apple.com and log in with your Apple ID or create one. Even if you don’t have a Mac or Apple device, you may have an Apple ID from using iTunes.
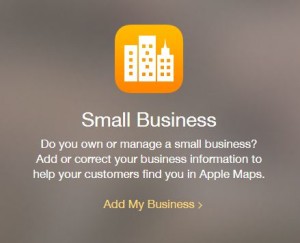
2. As soon as you log in, you will see an option to add a small business, shown below. Click to add your business.

3. Agree to the terms of service. Then, you’ll be able to search for whether or not your business is already on Apple maps.
4. If it’s not on the map, follow Apple’s prompts to add your business. If it is on the map, make sure everything is correct. They will verify real time via your main phone number, so you’ll need to be able to answer the phone.
5. If your business is already on Apple maps, click the blue “Claim this business” button at the top right of your selected listing. Again, Apple will verify real time via your phone number.
6. After verification, you will be able to add and edit your business details and location. Be sure to include as much information as possible, including your hours, categories, website, Yelp address, Facebook page and Twitter page. The Yelp page is very important because reviews will show up on the map, and Apple maps are widely used!
Because of the real time phone verification, we are unable to complete the verification process for you, but we are happy to answer any questions you have along the way. Please let us know if you need any help at all and we will lend a hand!

